I’m posting this as a place to store my notes concerning repairing our dryer. Feel free to ignore.
About a month ago our clothes dryer stopped drying. It would still spin, but it didn’t get hot. Its an older dryer, having come with the house, and it had done this once before. I was all set to call our repair man again, but Teri thought it might be worth while to do the repair ourselves. So after a week of not having a dryer (or possibly two) I finally got tired of it and started searching on the internets.
Searching for “kenmore gas dryer spins but no heat” gave me lots of results. The best was the two videos below. They’re not the same dryer as we have, but all of the parts are pretty much the same. Teri was right. Dryers are dead simple, so working on them in only a matter of looking and testing.
Sears Parts Direct has a full diagram of the dryer, and allows you to purchase many of the parts you need. It was an invaluable source for learning the names of things. That way I didn’t have to show up at our local appliance parts store and ask for a dohickey, or a thingamajig, both of which I was liable to otherwise.
Opening the dryer
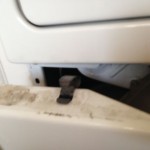
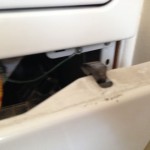
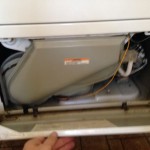
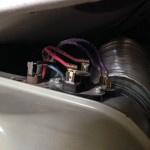
There are two black metal clamps that hold the top of the service panel in place. You can see them in the next two photos. Slide a flat-head screwdriver along the top of the gap between the panel and the dryer door and over the top of a clamp. Push down on the clamp and it should release enough for the panel to move forward. Release the clamp on the other side and the whole panel should pivot towards you. Lift the panel from the bottom pins (see third photo) and set it aside.
The next thing to remove is the air duct which is the olive green part in the middle. Make sure you take the lint trap out of the dryer first before attempting to remove as it rests inside of the duct. Manhandle this part and you’ll break the lint trap.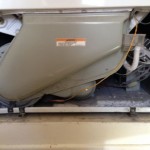
The air duct is held on with two screws on the top, and a metal leaf spring on the bottom (see photos). After the screws are removed the leaf-spring can be slid along the white frame to the left to clear the duct, or it can be bent backwards enough to allow the duct to clear.
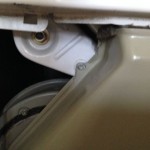
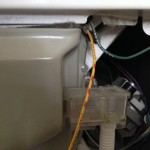
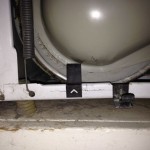
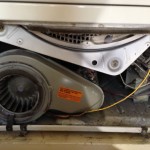
This is what the dryer looks like with the duct out of the way.
Pull out your ohm meter and set it to 2k ohms. This works pretty much like a continuity checker. Any change in the number below 1 means the part is good. Some parts, like the igniter coil, will have some resistance (the meter will read 0.35 or so), which is fine as long as they still have continuity.
The first thing to check is the radiant sensor (also called a thermal fuse) and the thermostat. They’re found right in about the middle of the dryer, right above the orange sticker on the light green ducting. The radiant sensor is rusty looking part to the left with the black and blue wires, and the thermostat is to the right with 4 wires. Check for continuity across the long ways on the thermostat, and across the two pins of the radiant sensor. If neither one works, then replace. Otherwise move on to the next step.
Burner assembly
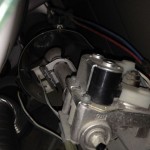
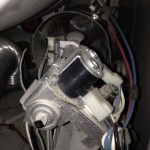
Unlike the second video, there are 4 things to check in the burner assembly, not 3. They are the valve coils (or solenoids, or just coils), the glow bar igniter, the igniter thermal fuse and the thermostat. The valve coils are easiest because they’re the two black parts near the front. (See the second video to learn how to test them.) The glow bar igniter can be seen just to the left of the coils in the first photo. It has its own thermal fuse just to the left of it. The final thermostat can be found on the top of the burner duct (the tube the gas burns into). You can see it near the top of the last photo, the one with red and blue wires going to it.
And that’s about it.
Specs:
Kenmore Ultra Fabric Care
Model # 11087984110
22,000 btu

